
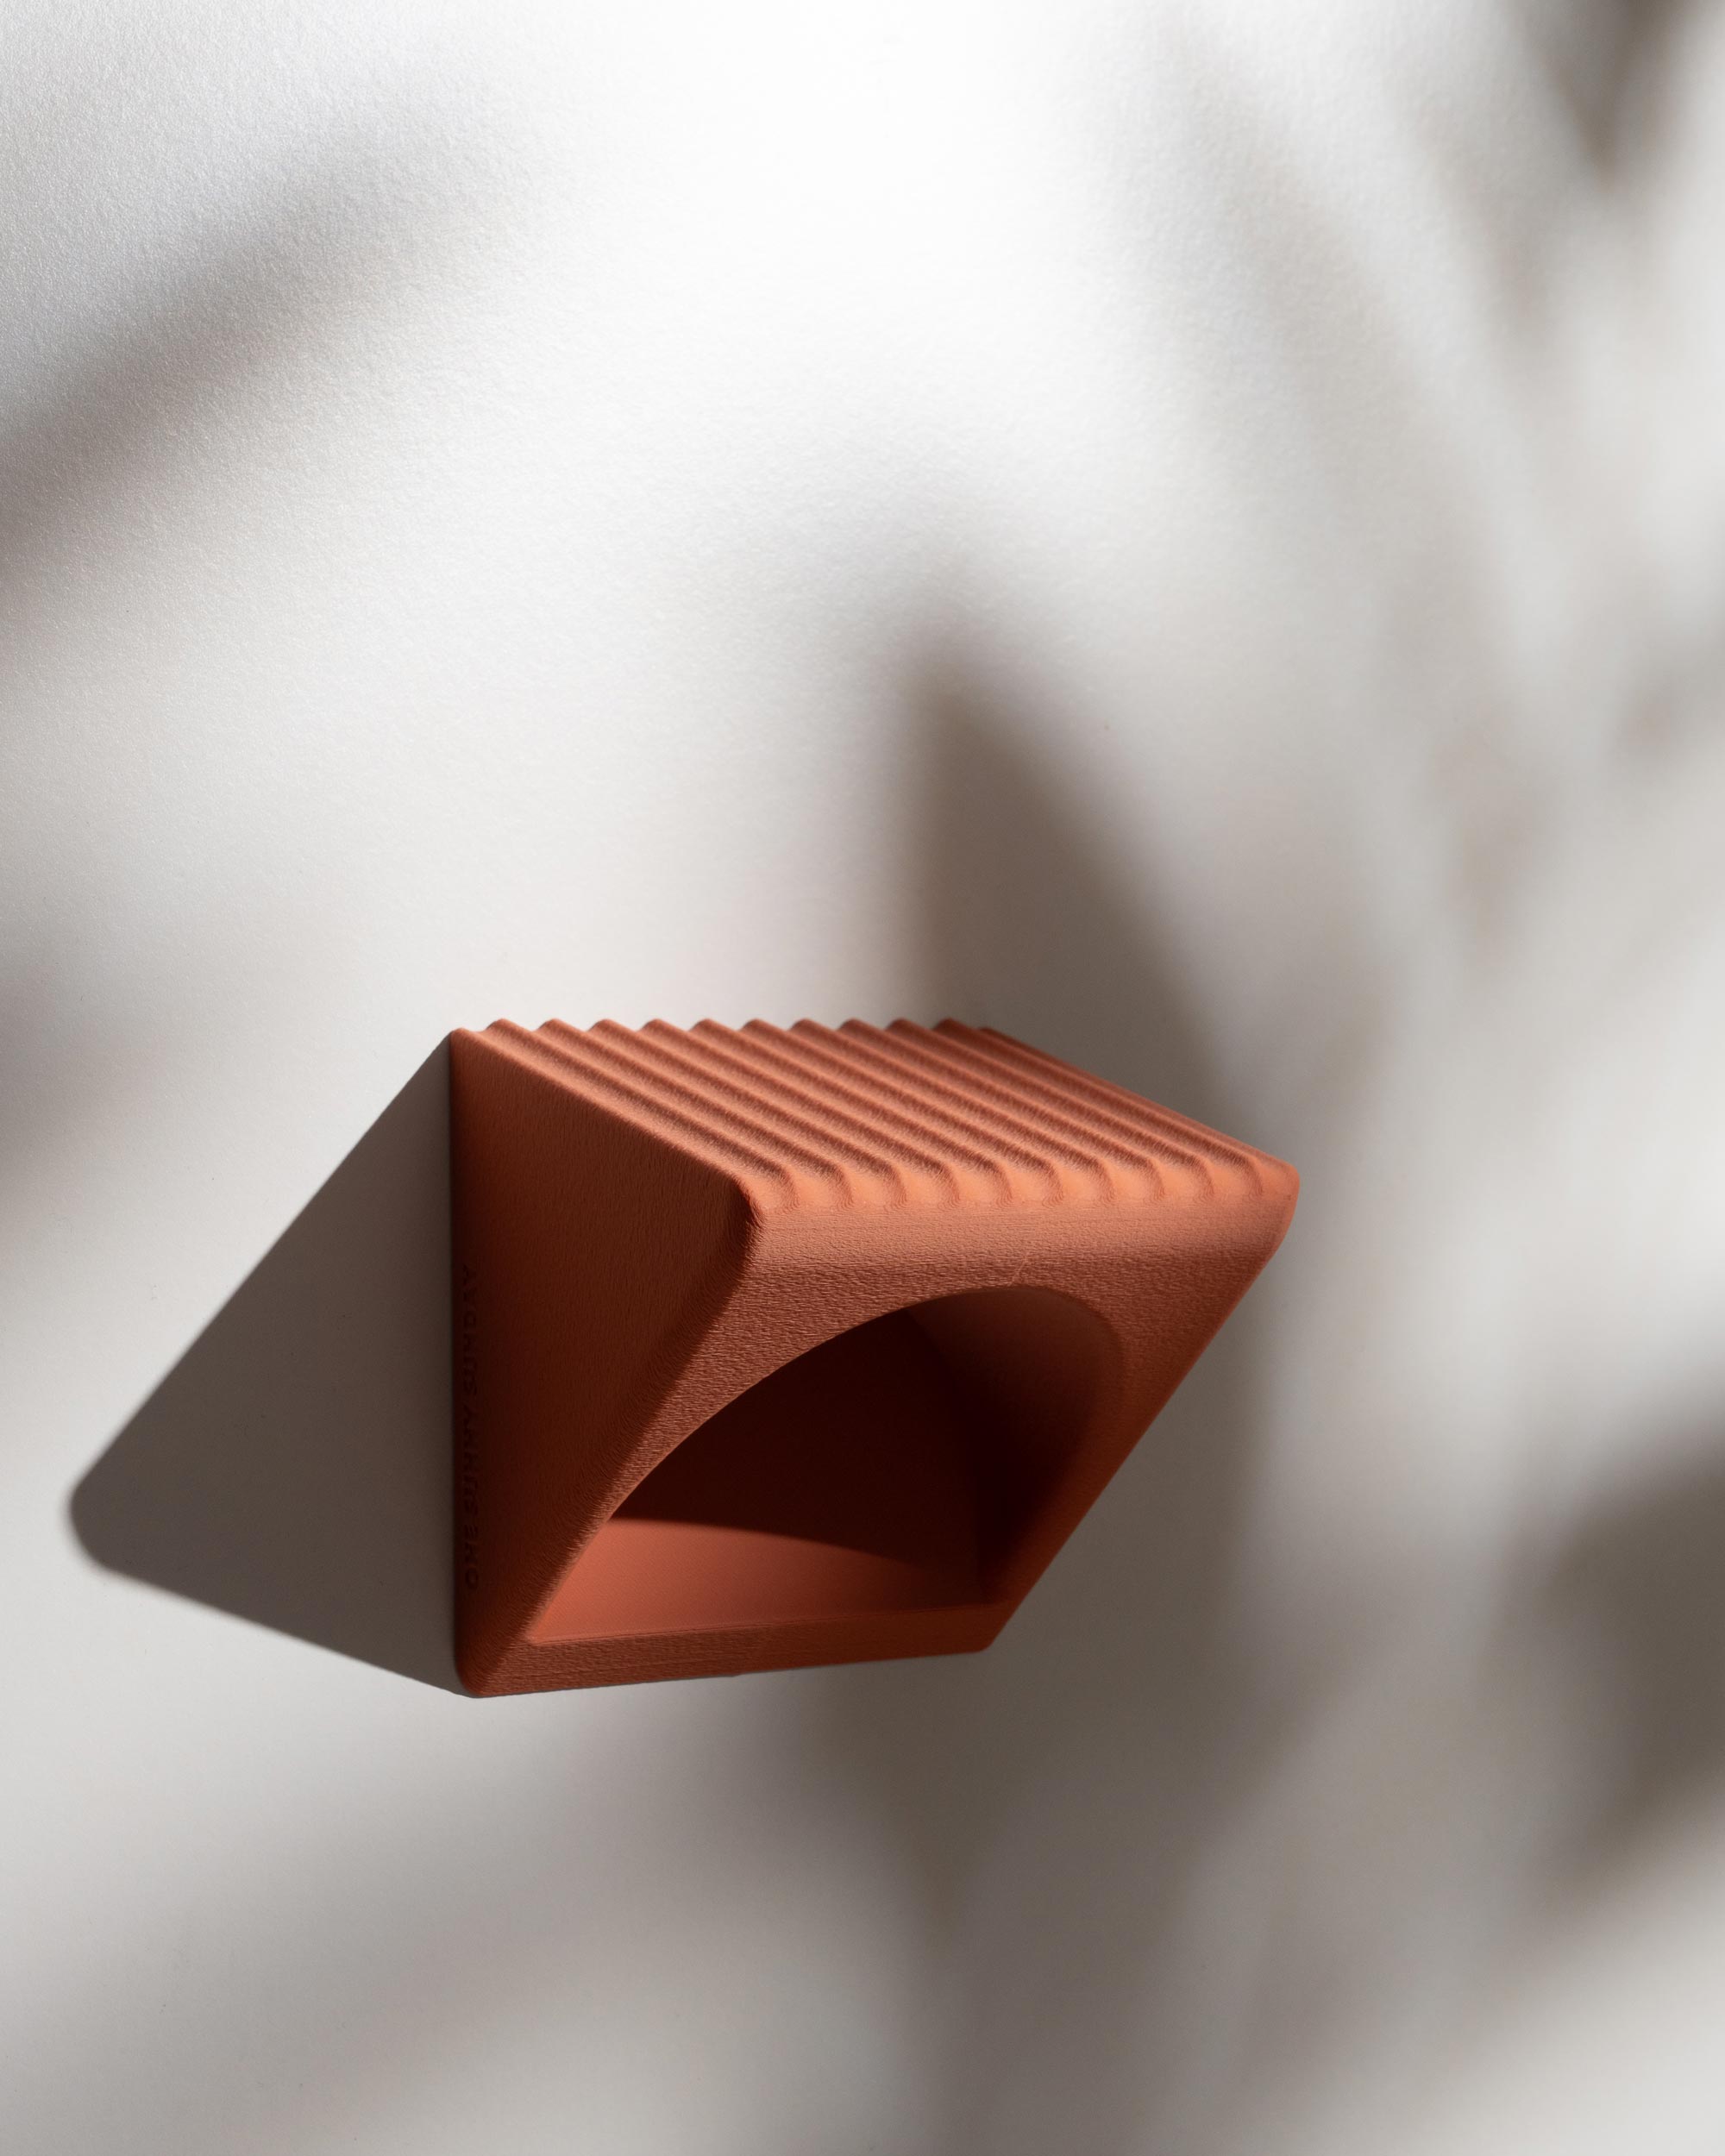
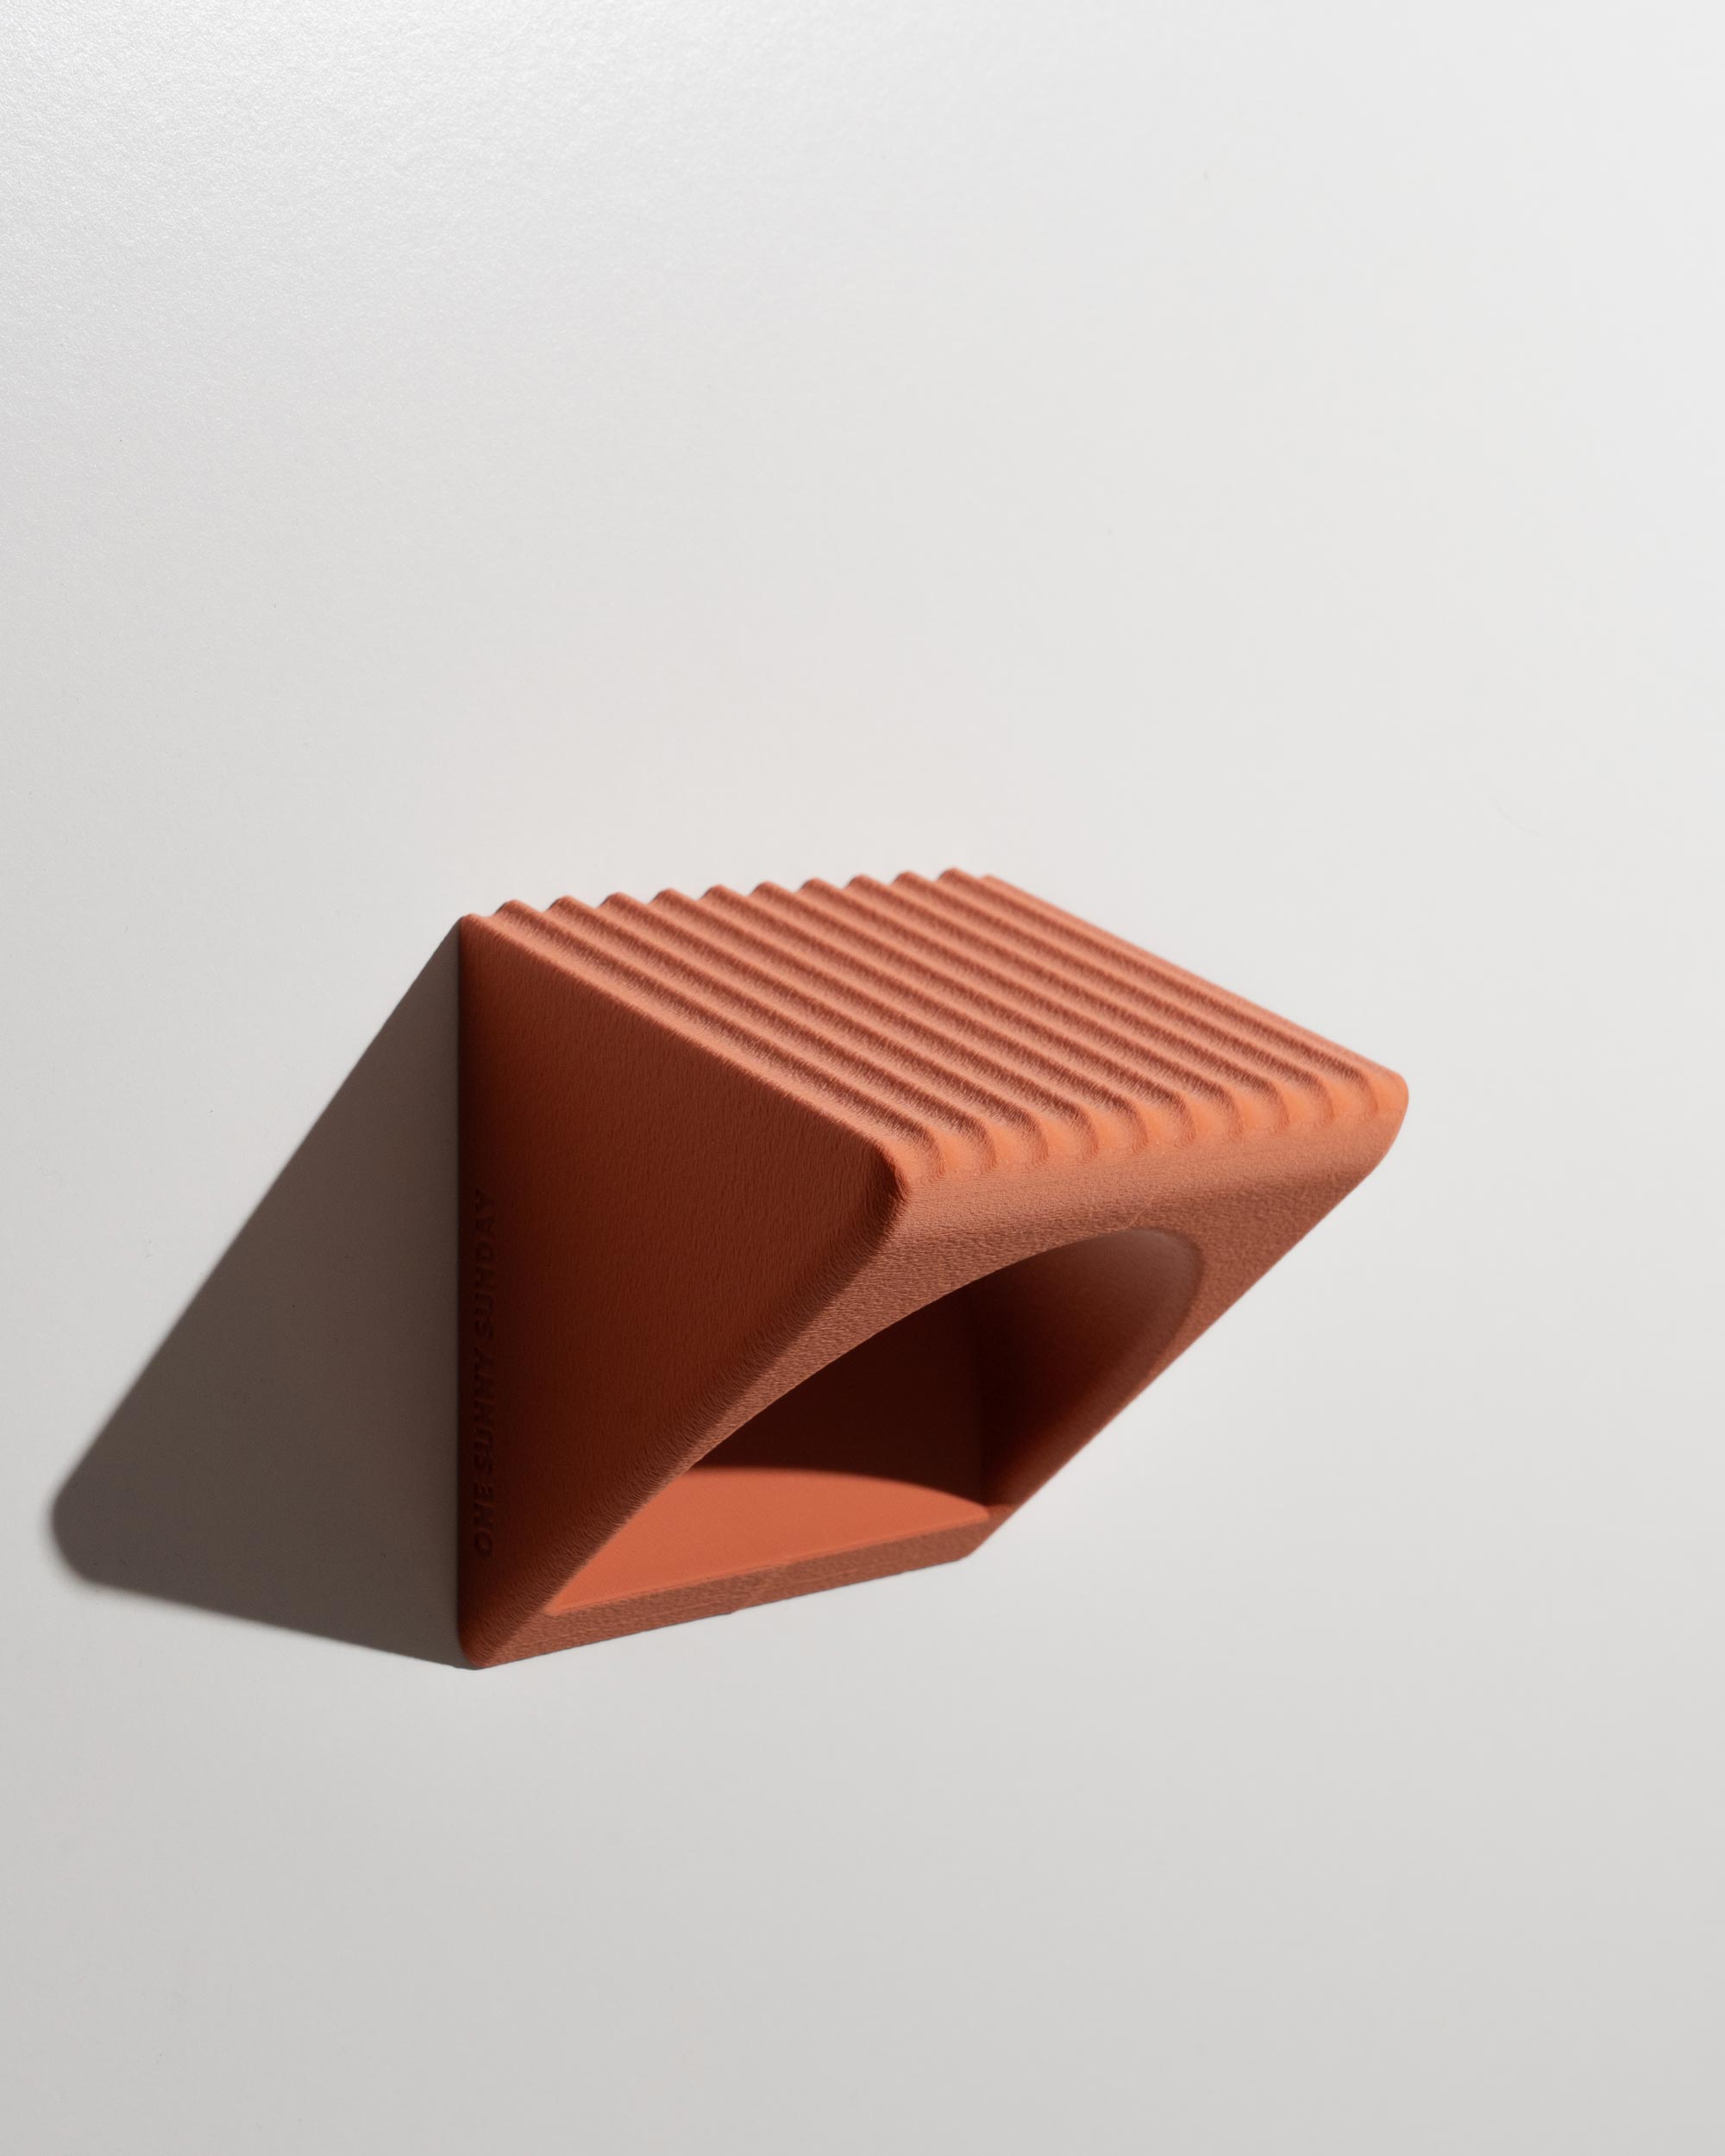
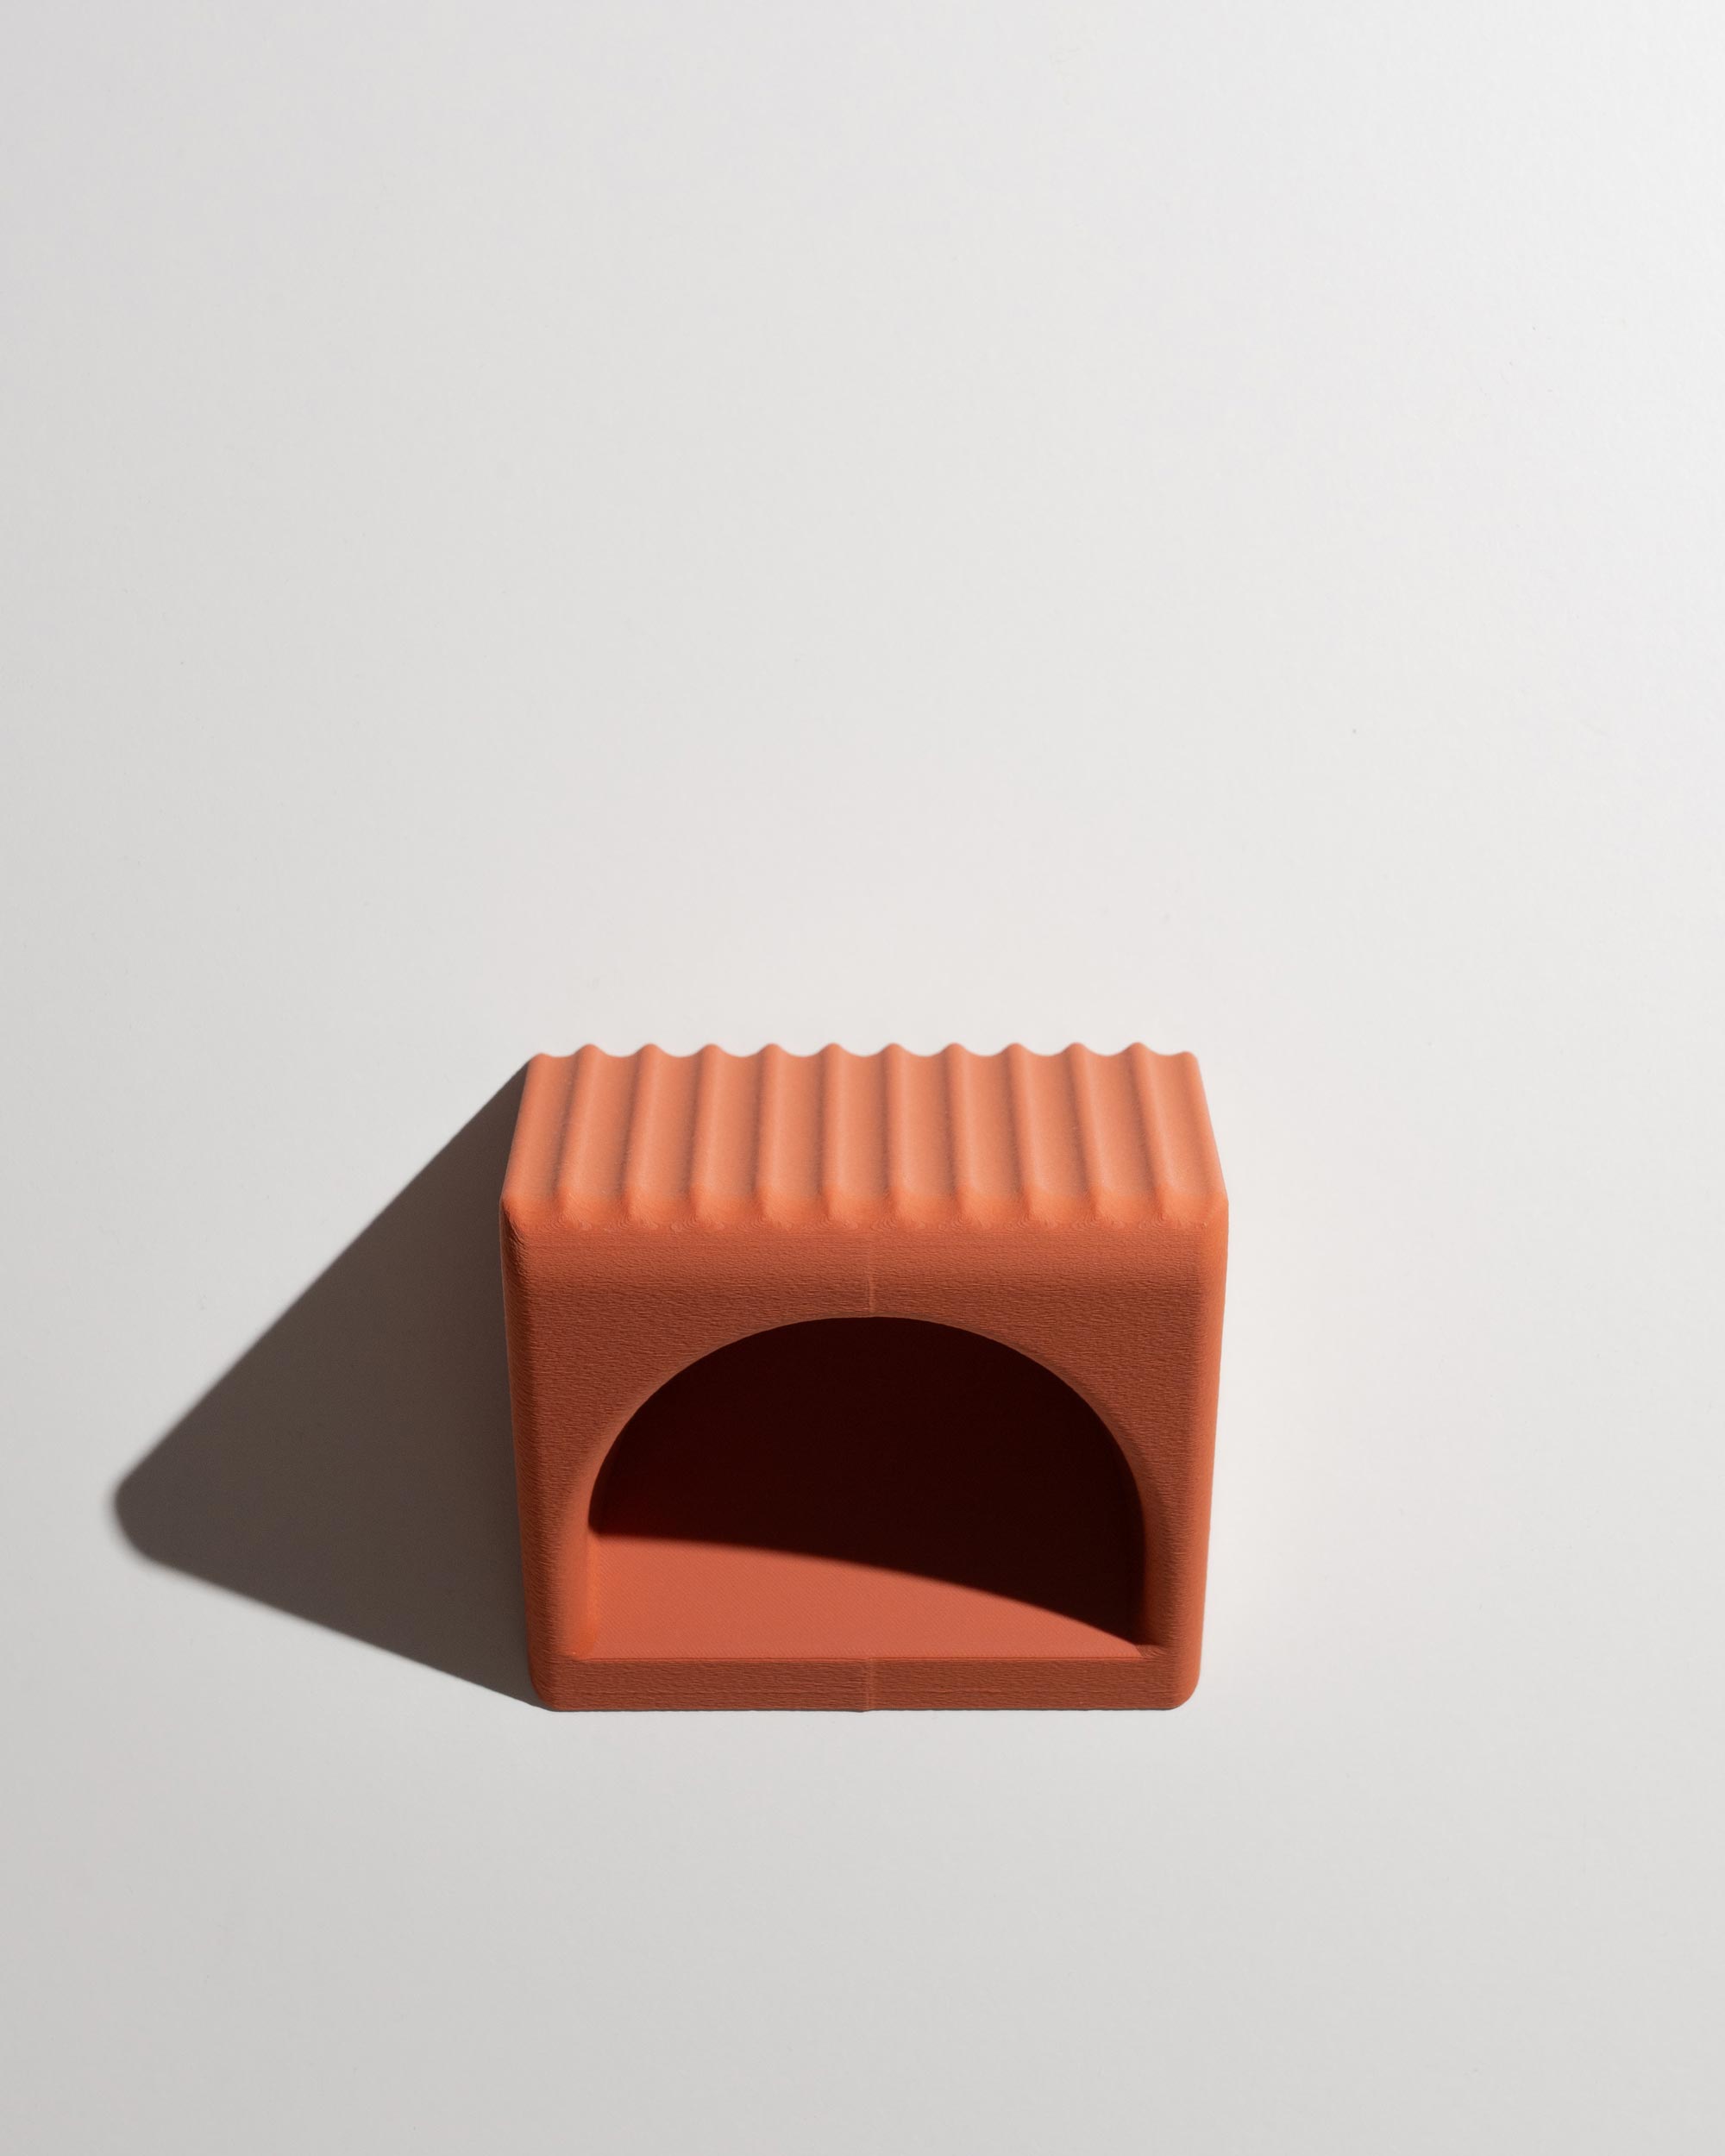
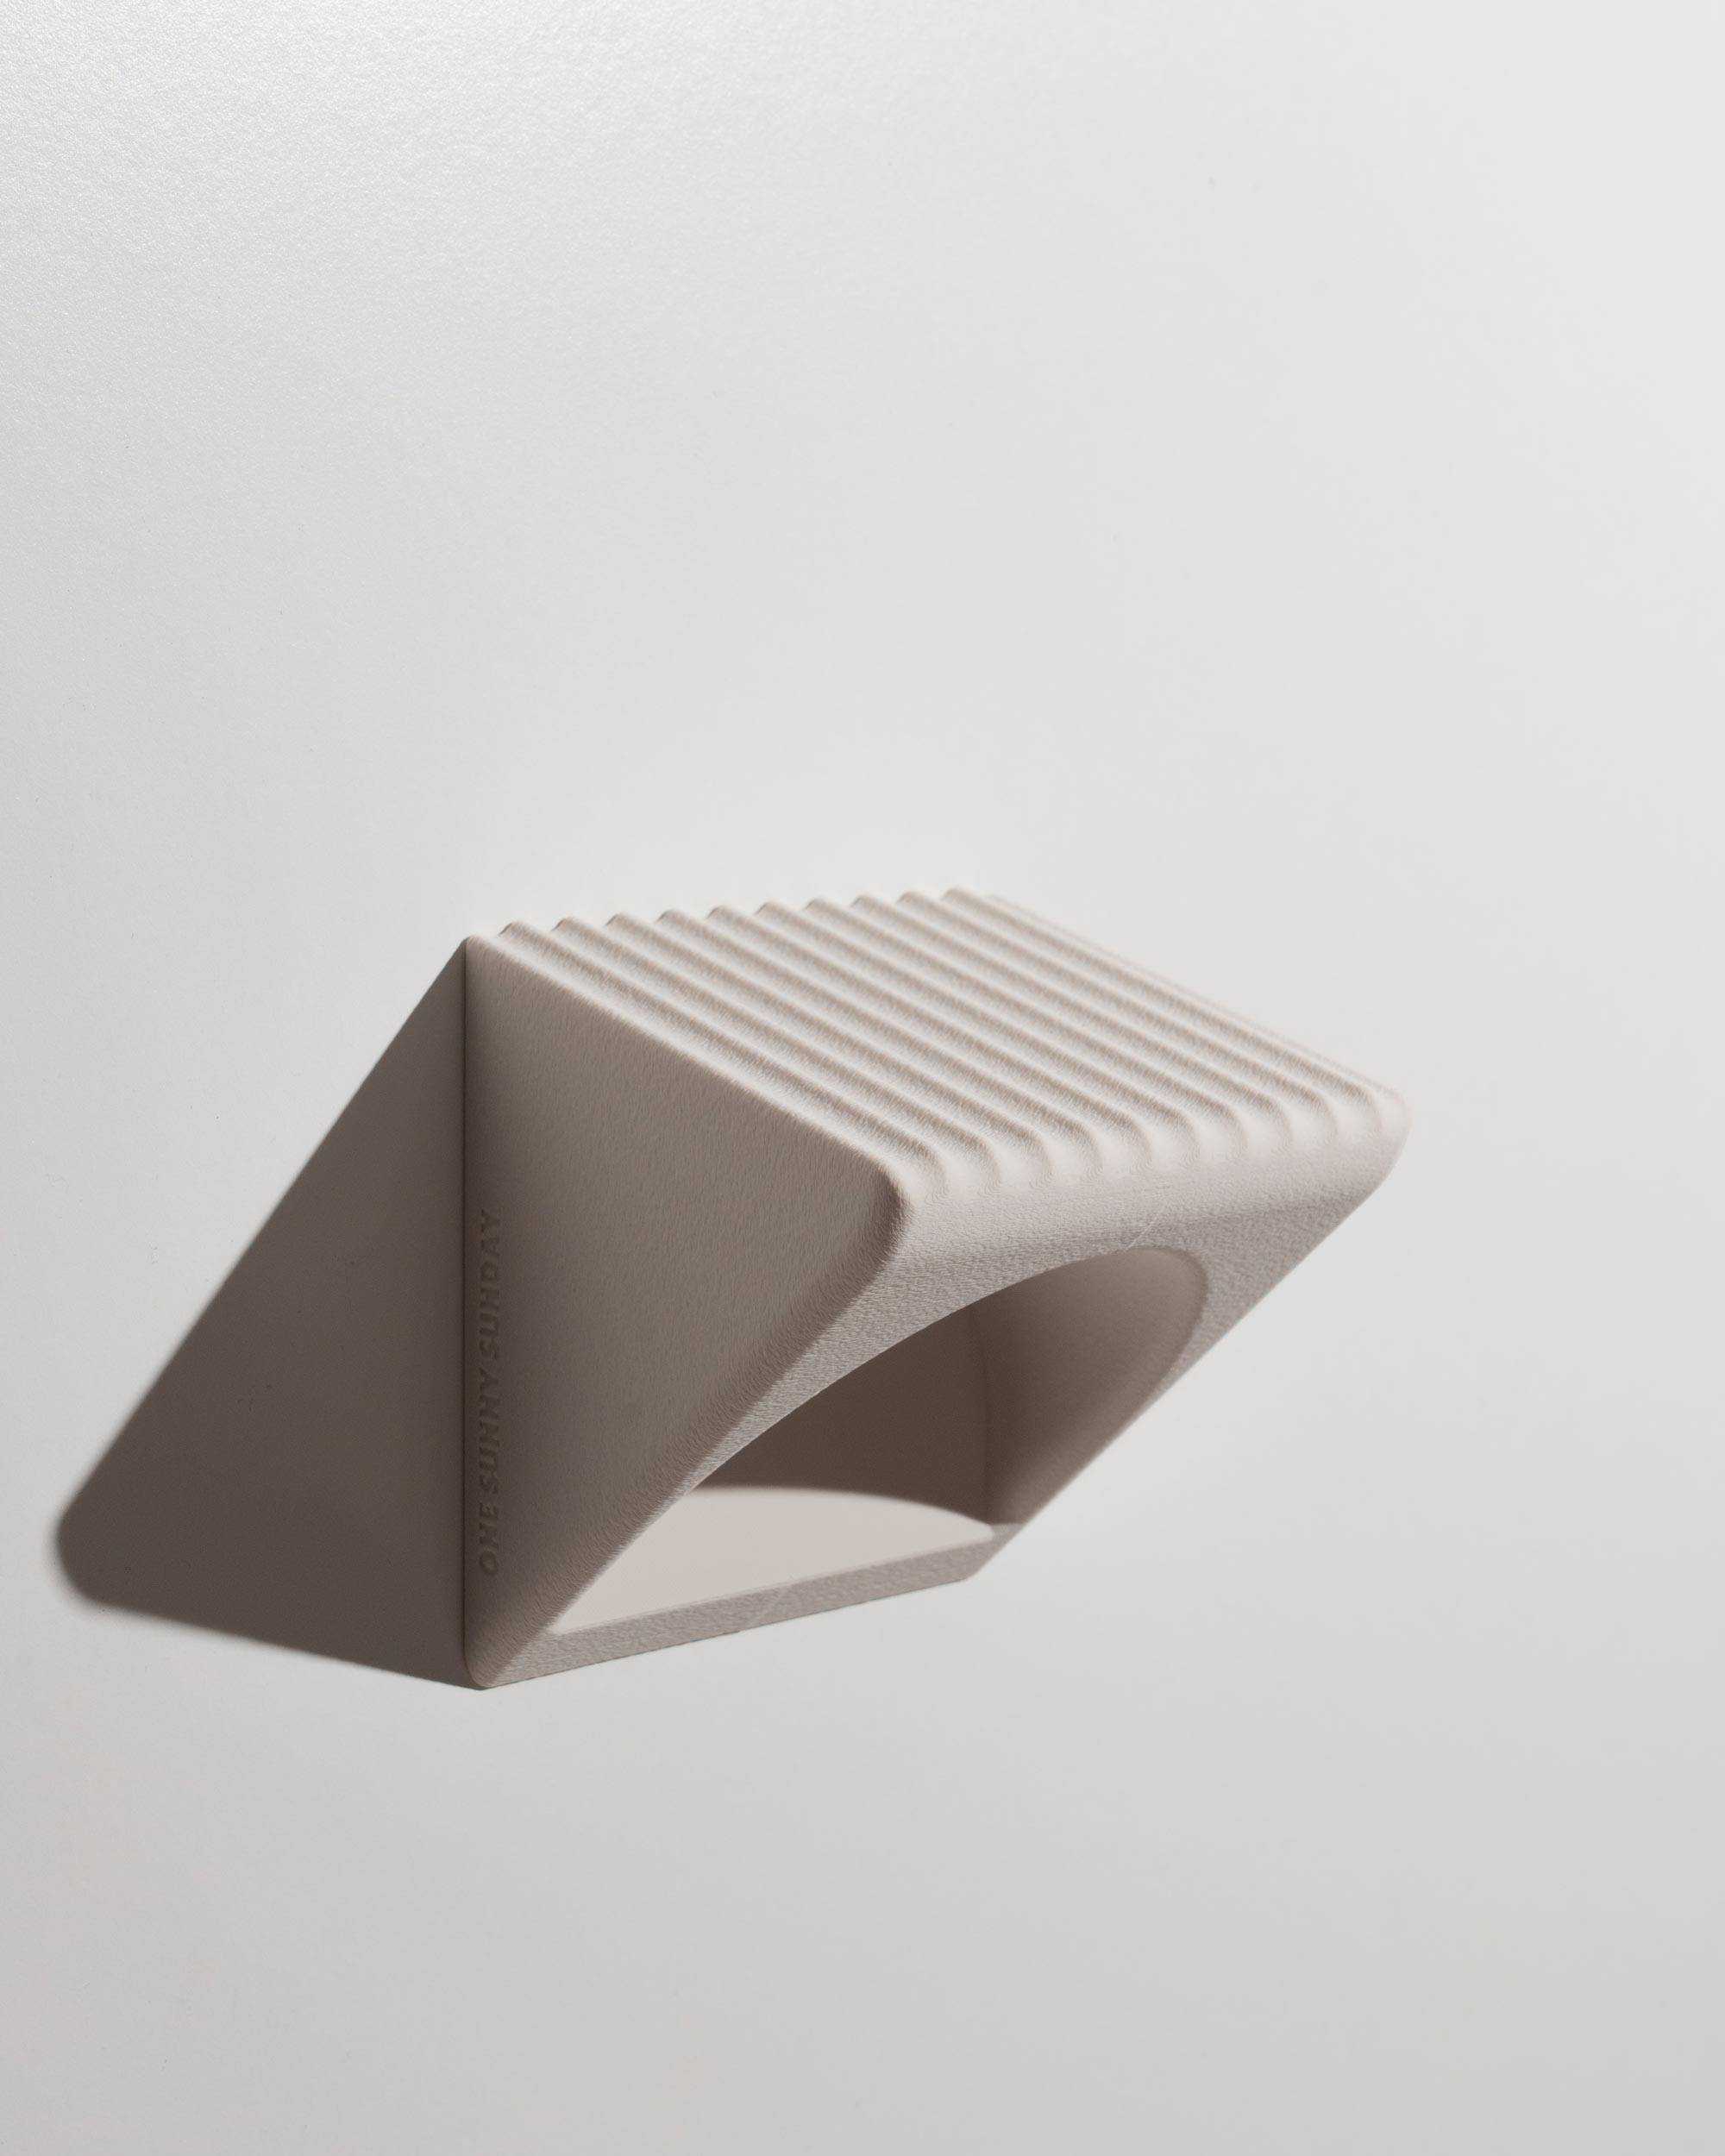
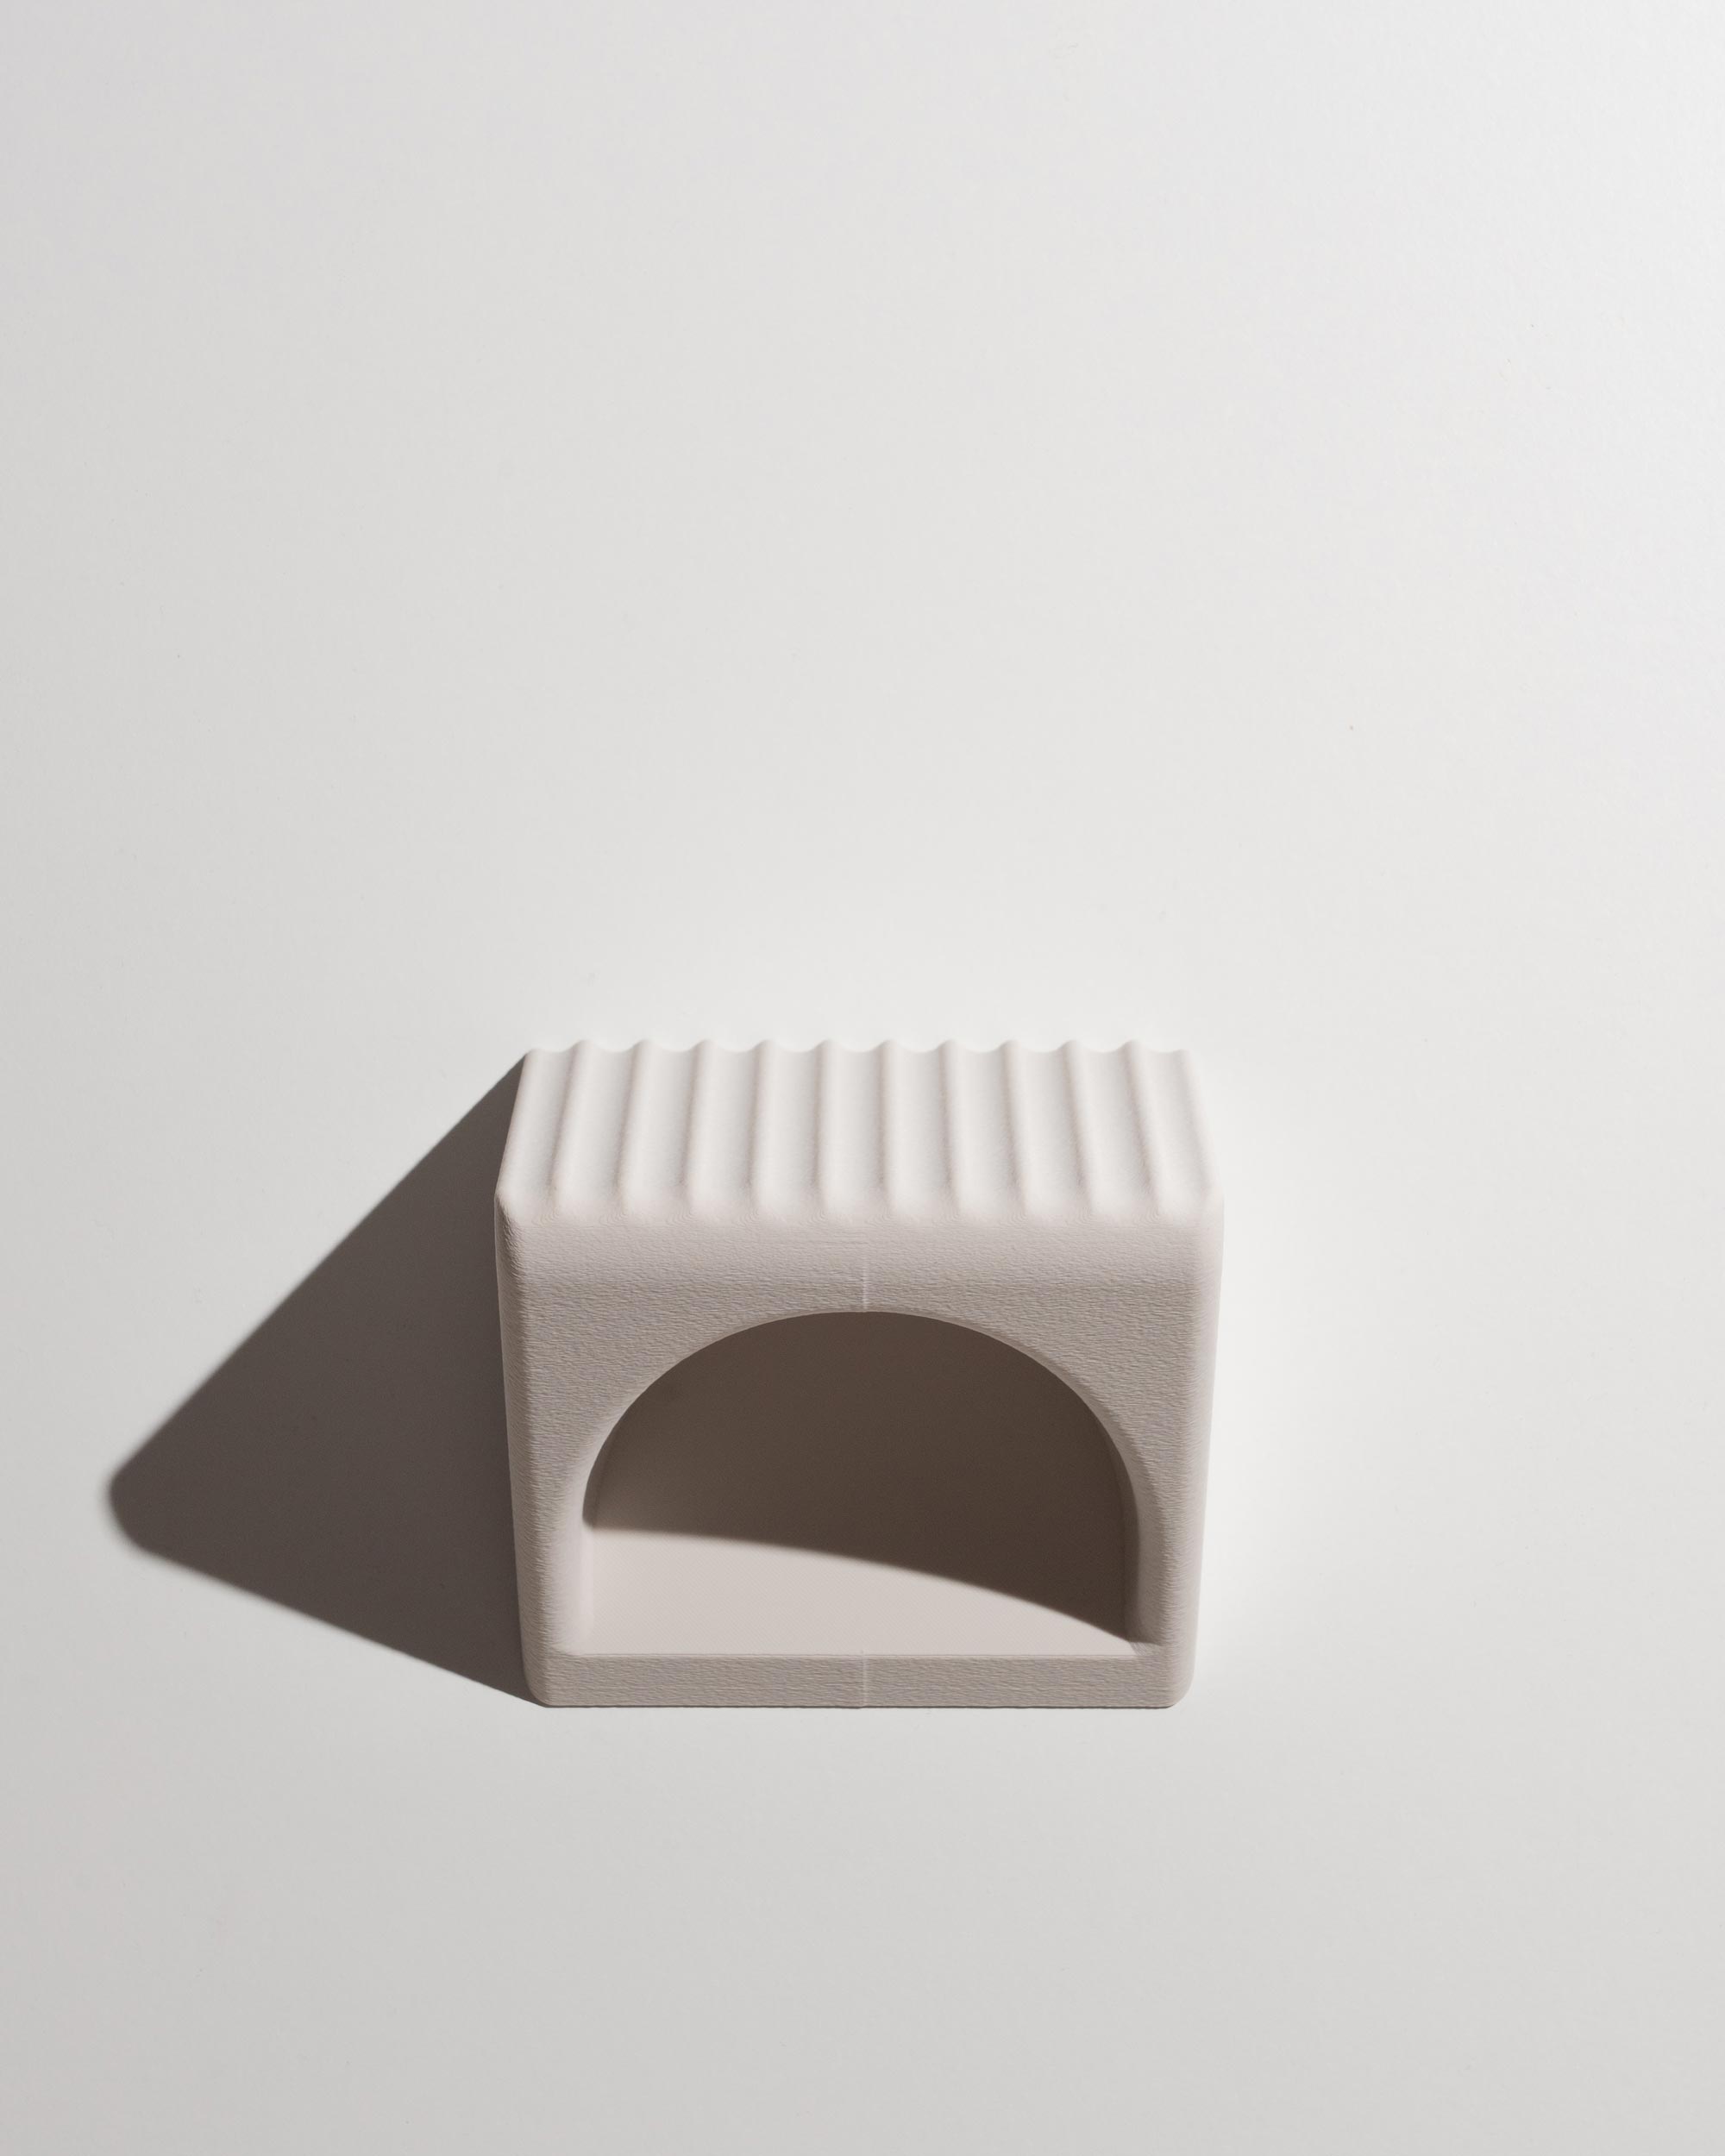
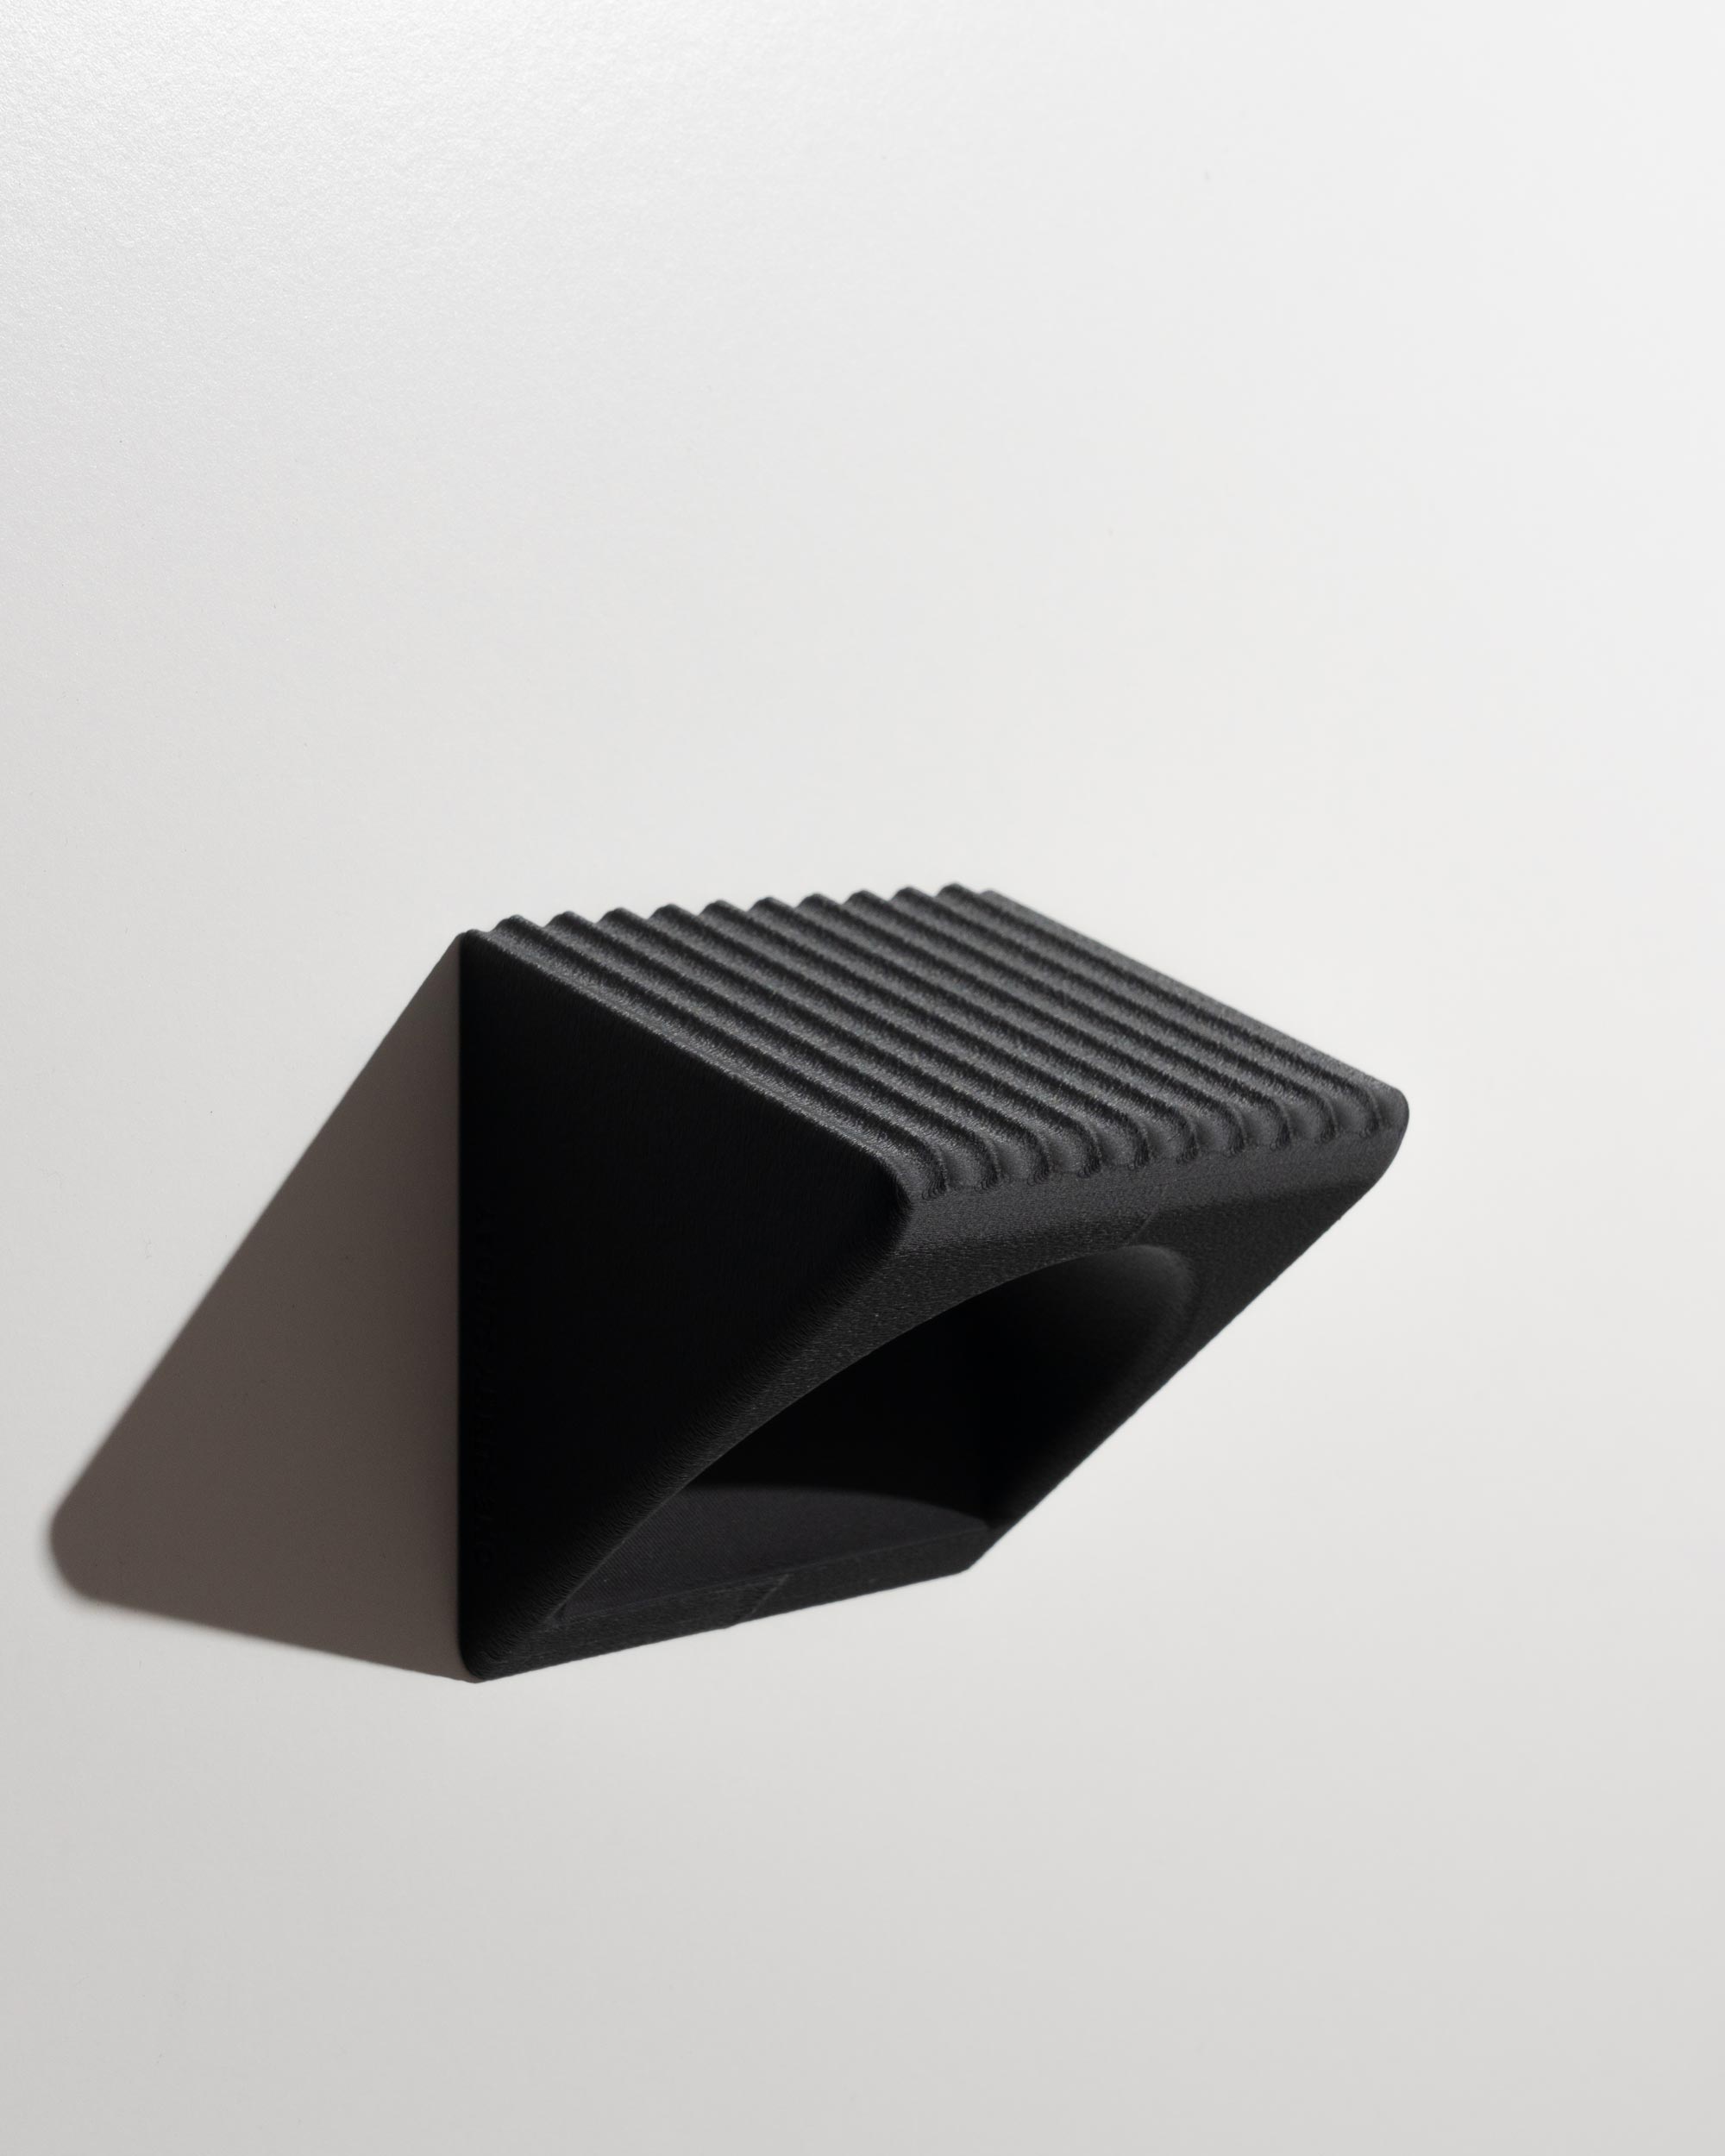
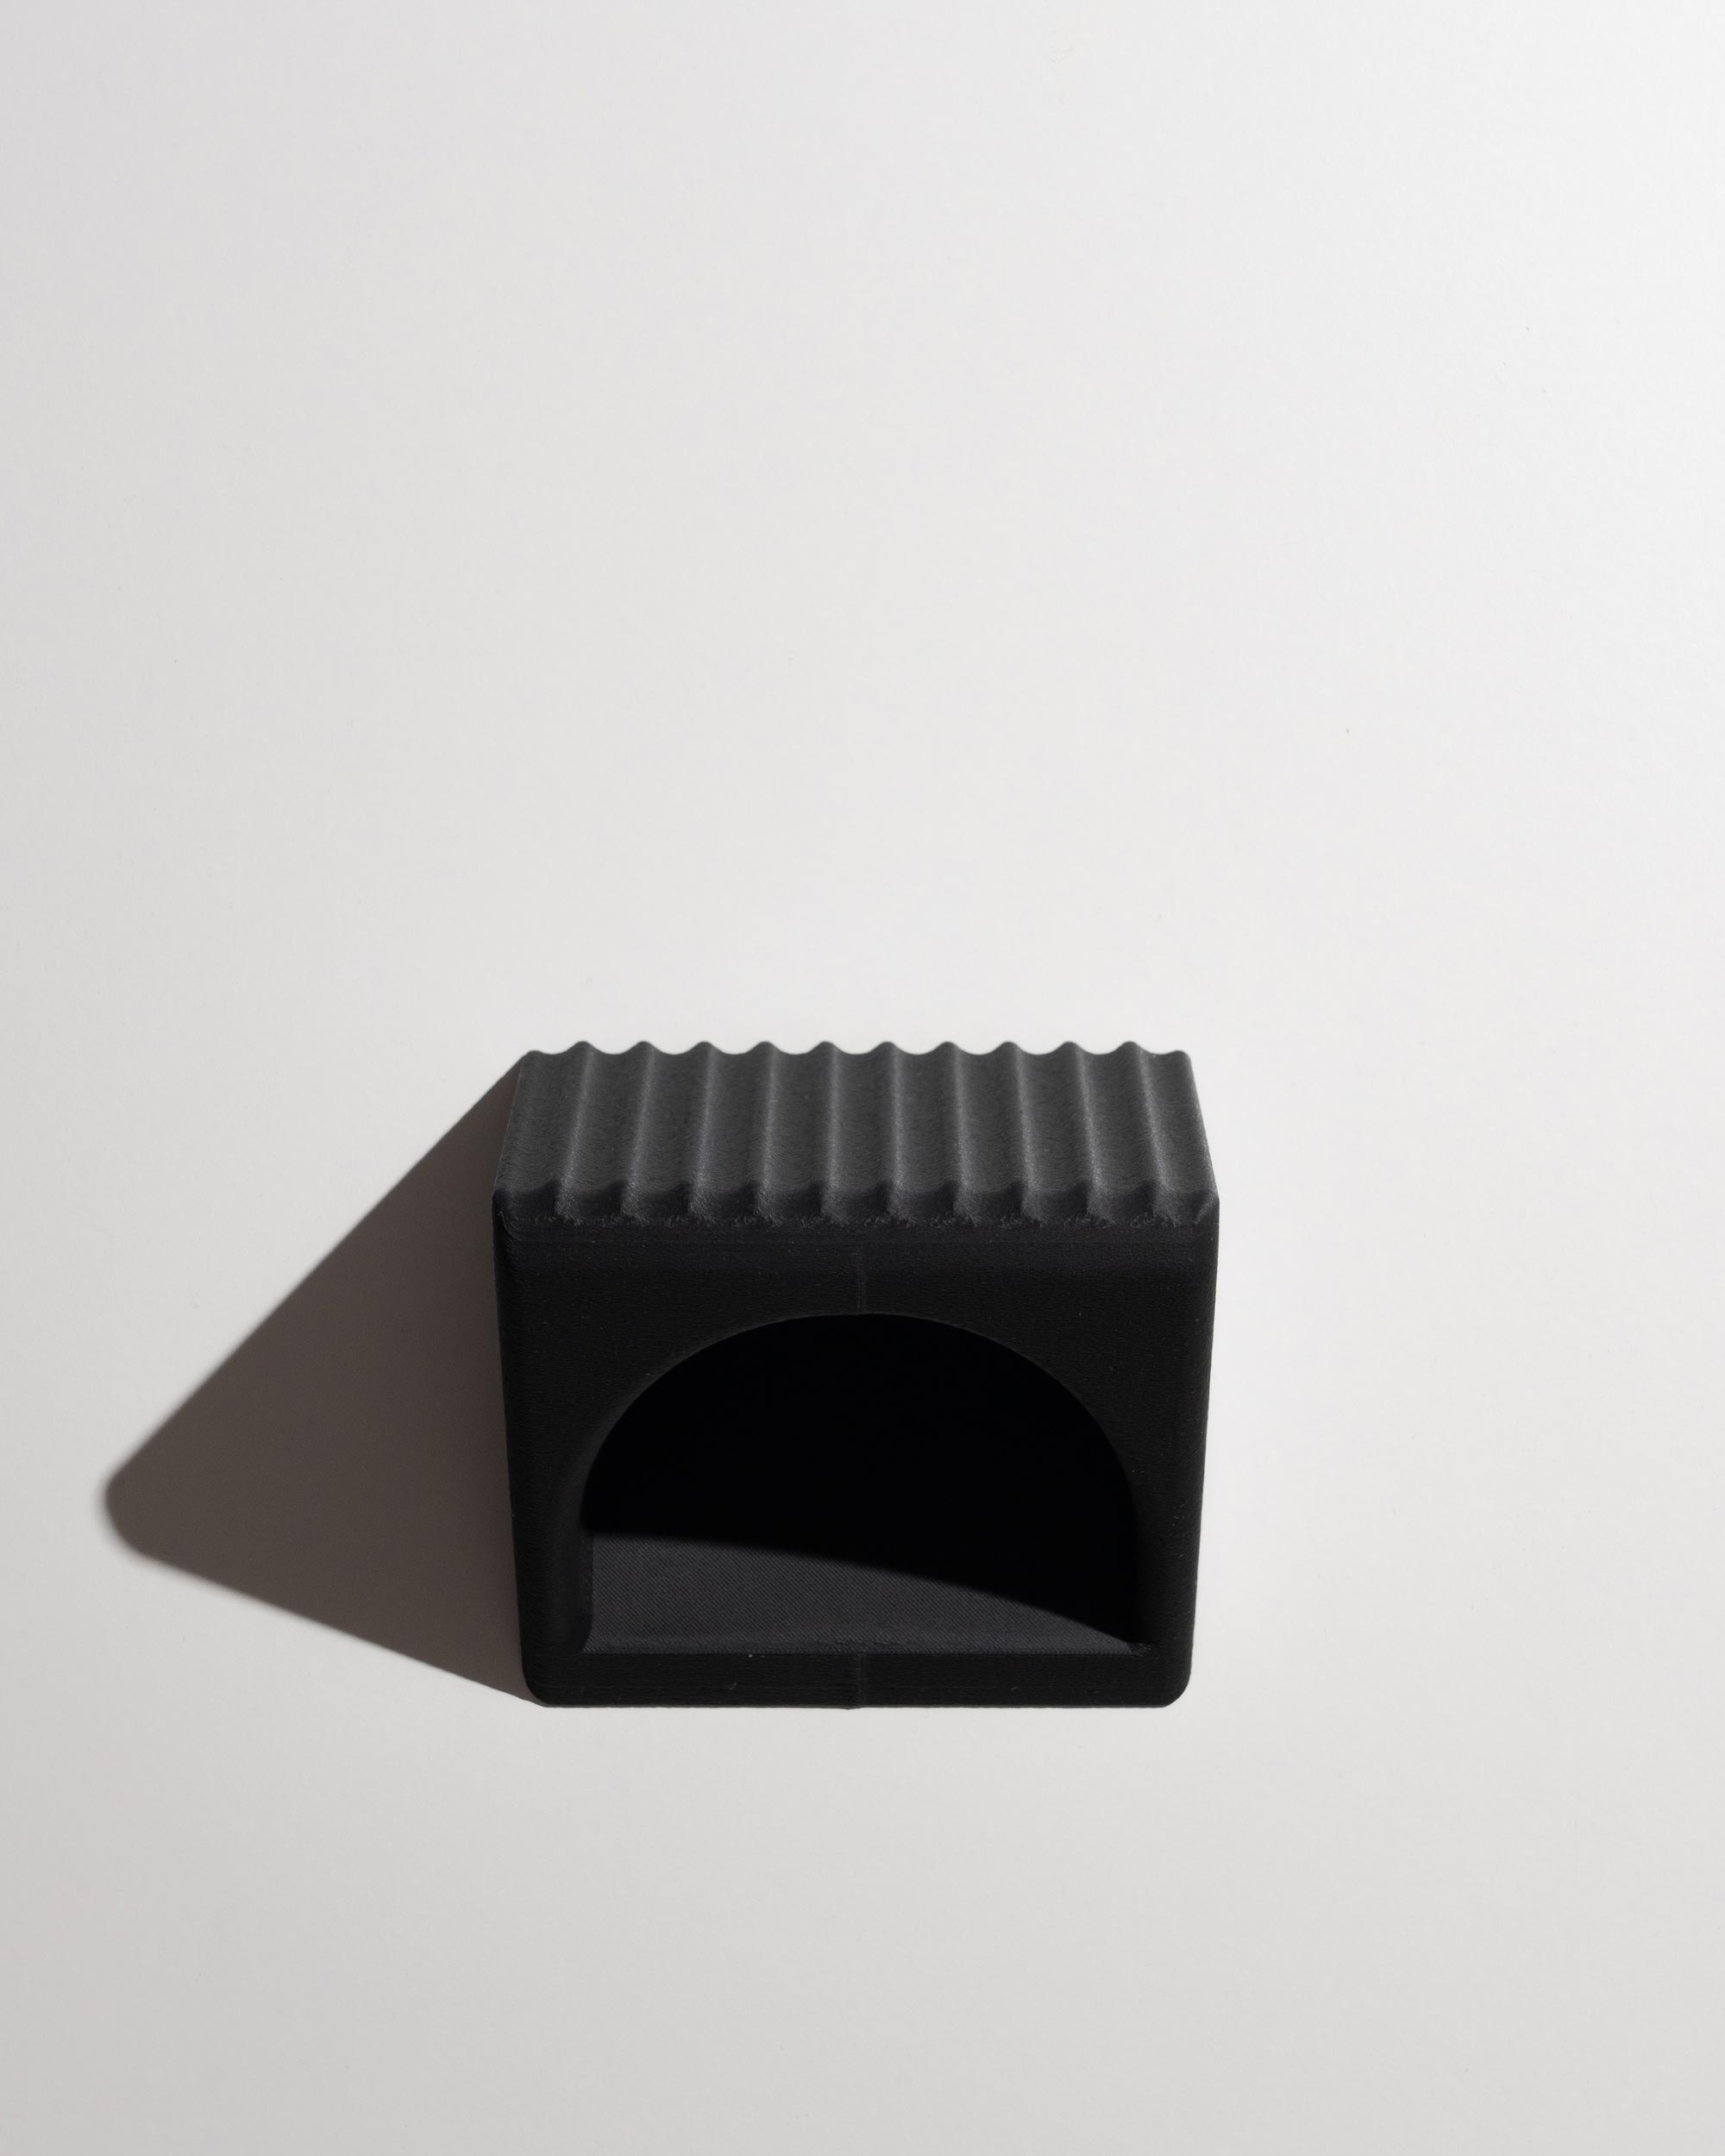
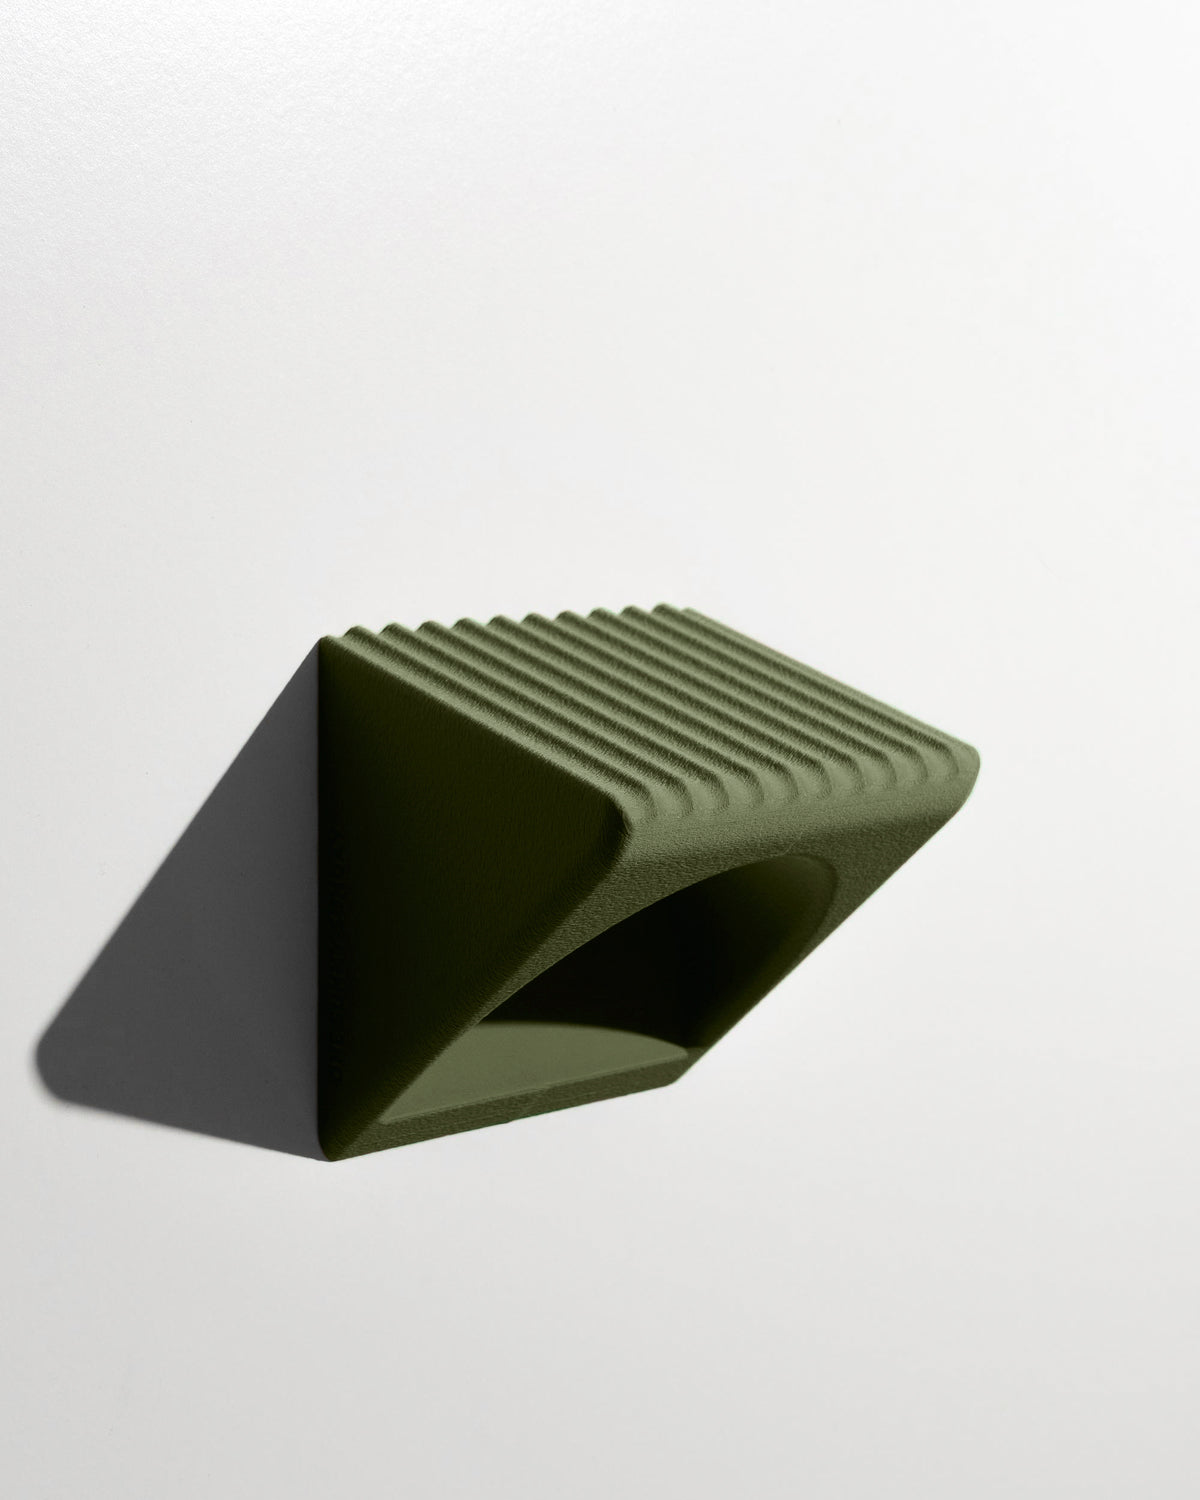
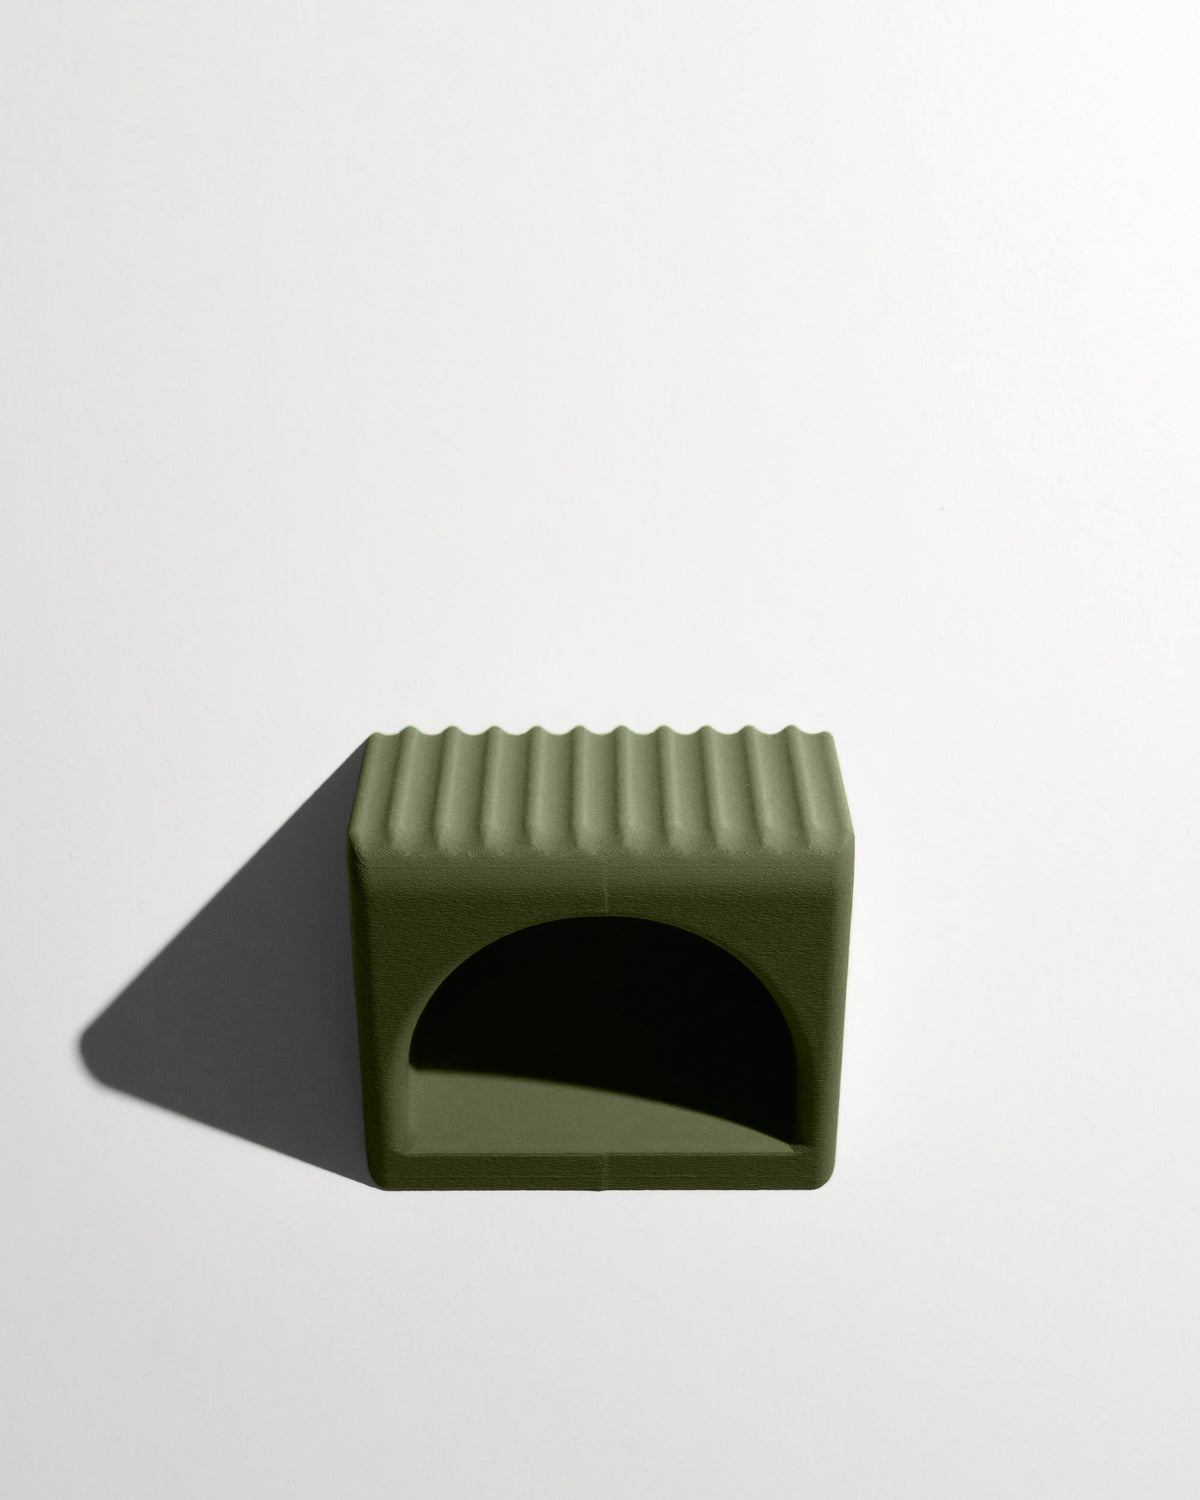
Milan Shower Foot Rest
 Made to order, current lead time 1-2 weeks.
 Made in Australia
Designed and Manufactured on the Sunshine Coast, QLD
Free Australian Shipping on all orders over $120
Shaving in the shower usually means awkward bending or precarious balancing. The Milan solves this with a dedicated platform fixed to the wall that brings the leg to a natural, stead rest.
Installs without drilling, suitable for rental properties or anyone after a non-permanent solution. Made from plant-derived bioplastic in our Sunshine Coast studio.
Dimensions:
Weight Capacity:
Material: Plant derived BioPlastic (Polylactic Acid)
Manufacturing Process:
Embracing the forefront of digital manufacturing, each of our pieces are meticulously produced in limited batches using advanced 3D printing technology.
Subtle variations and surface imperfections are inherent in our manufacturing process, adding to the truly unique beauty of each piece.
To keep your One Sunny Sunday pieces looking their best for years to come follow these simple care instructions:
- Do not expose to temperatures greater than 60 degrees celsius (max residential tap temperature in AU is 50 degrees).
- Keep out of direct sunlight
- Wipe clean with a damp cloth. Grooves can be scrubbed with a soft head toothbrush or similar.
FAQ
Do your products have drainage holes?
Yes, all of our bathroom products feature large drainage slots to allow water to freely flow out.
How do they stick to the wall?
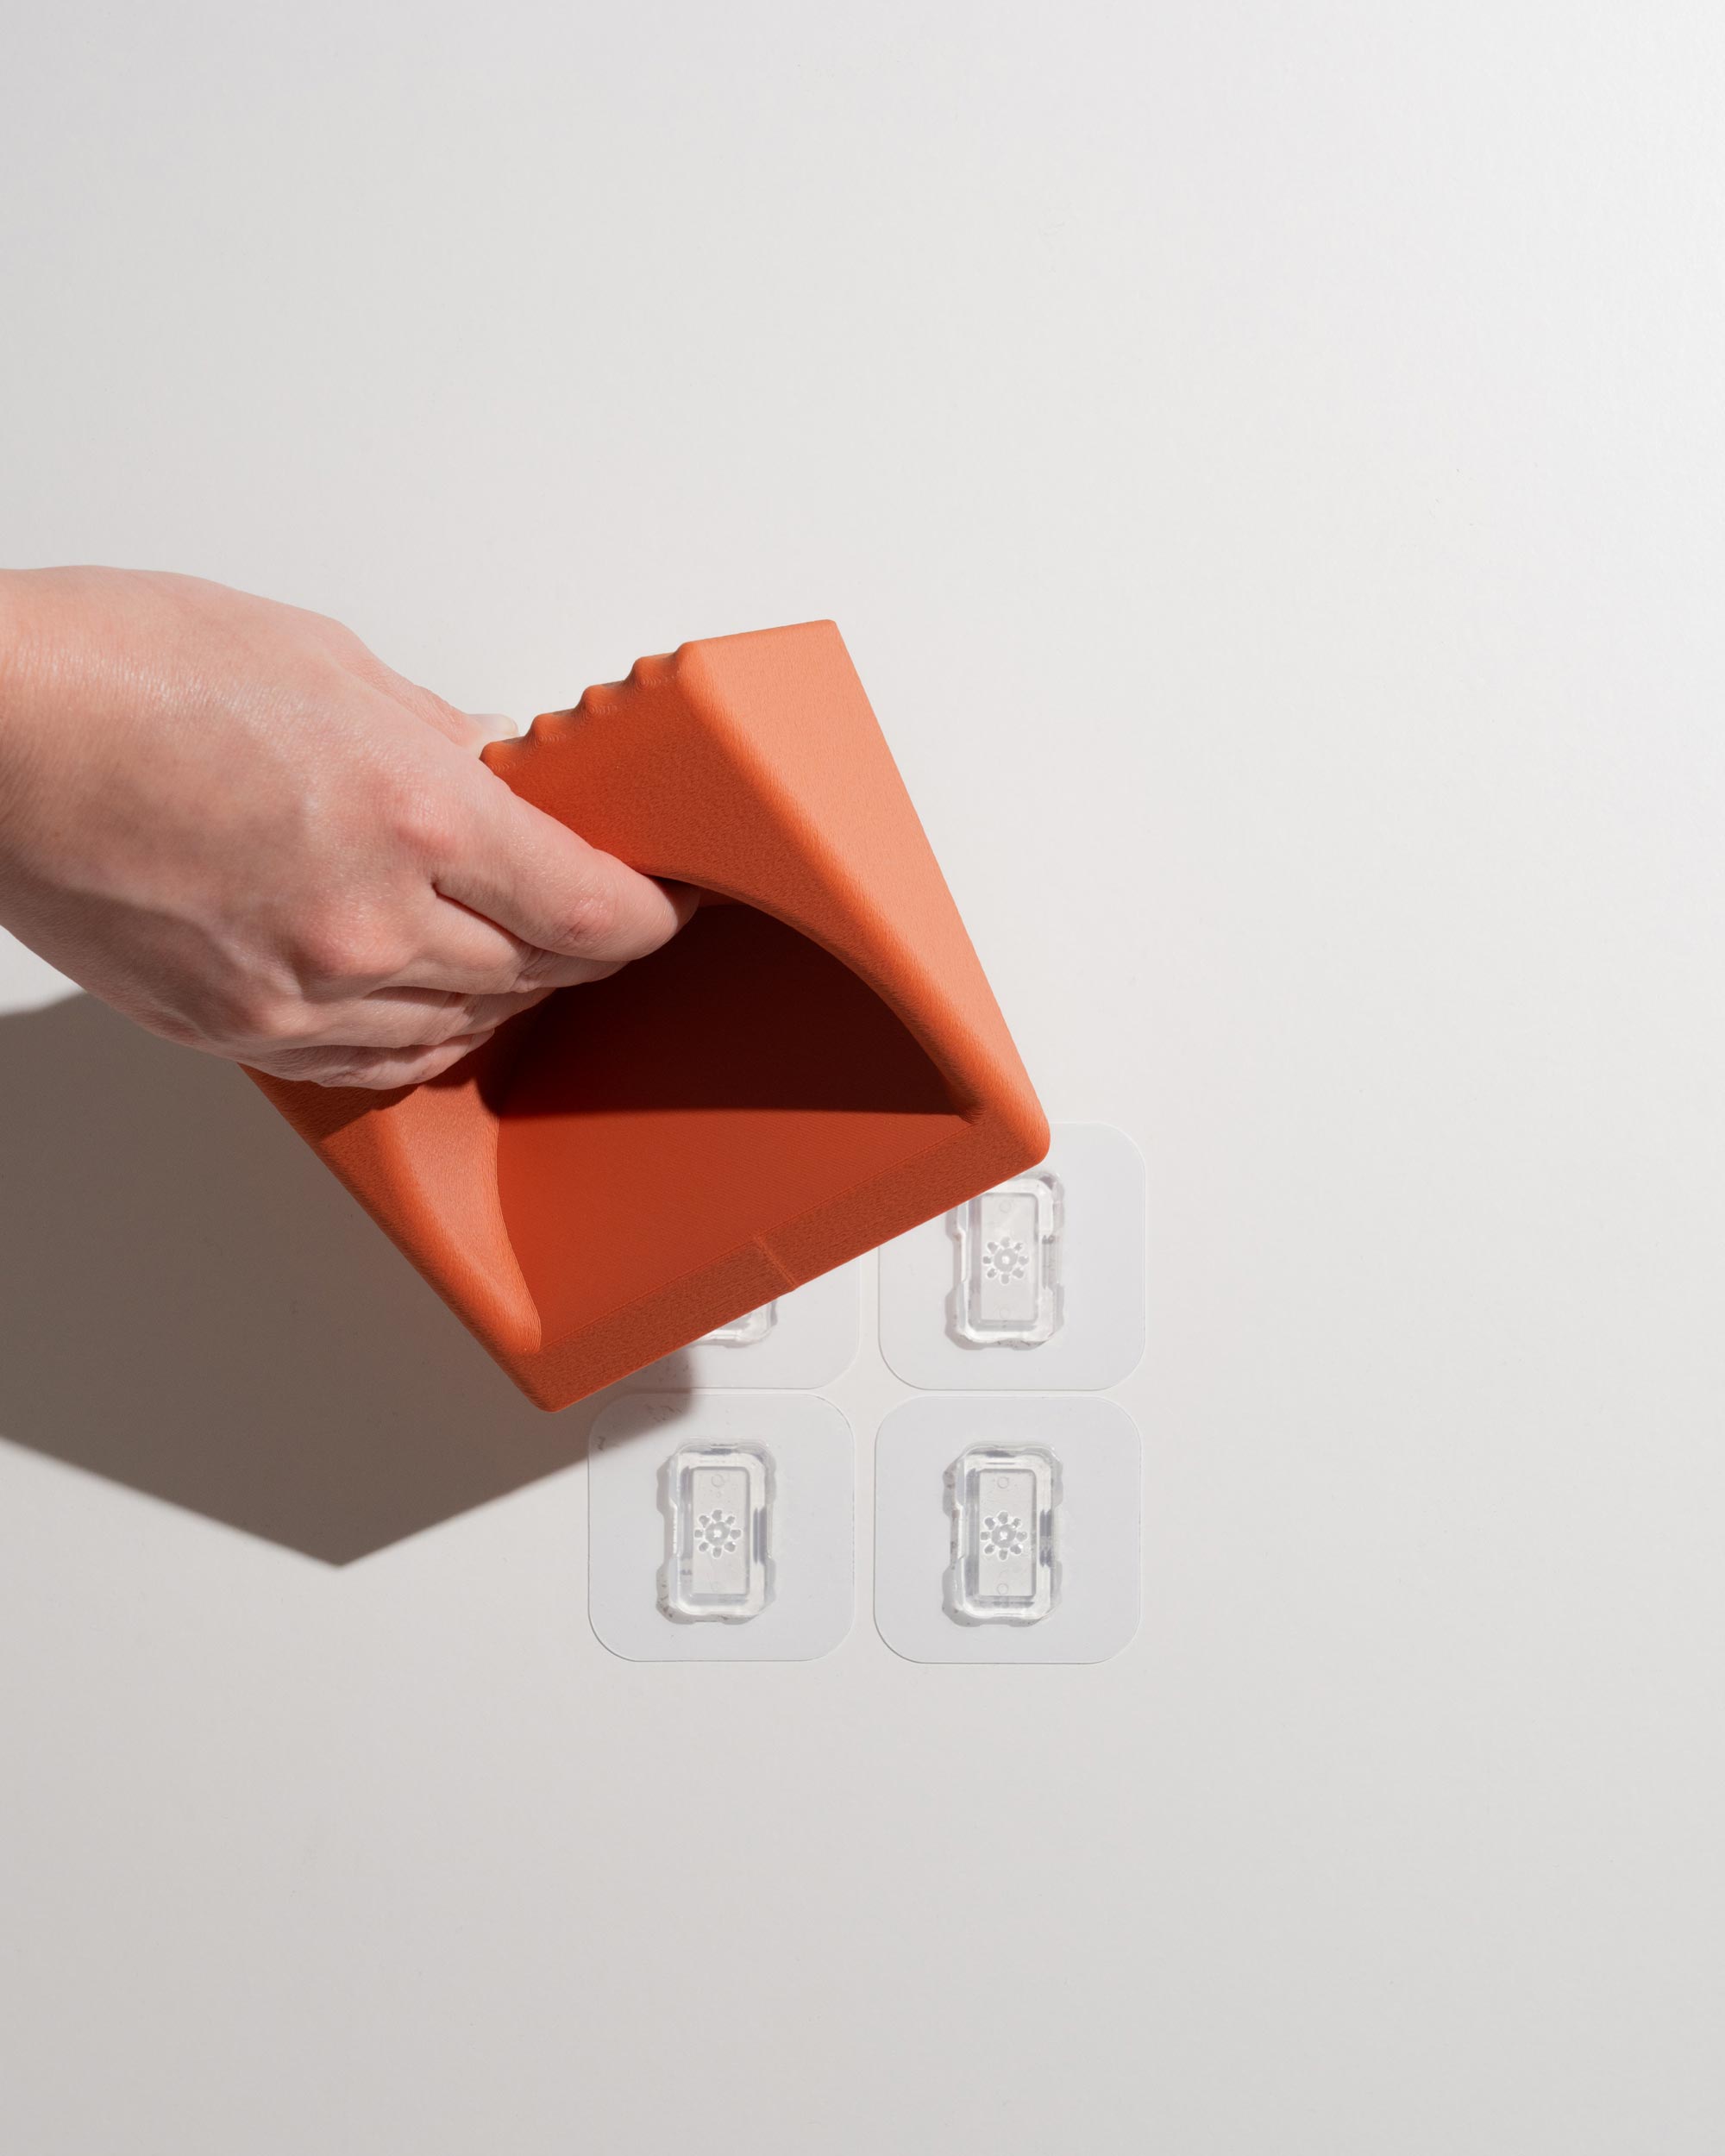
Via our patent-pending custom adhesive clip system - no tools, no drilling, no tradies required. Installation takes seconds, and when the time comes to remove them, they leave zero residue and zero damage behind.
What surfaces are suitable?
Suitable surfaces:
- Glossy tiles
- Matt tiles
- Glass
- Mirror
- Fiberglass (caravan showers)
DO NOT USE ON:
- Laminex or similar laminated particle board.
- Porous tiles
- Painted or bare drywall
- Timber
- Small tiles with a lot of grout lines.
How to Install
All our bathroom products use a custom designed adhesive wall clip mounting system. Following the 4 easy install steps ensures maximum load capacity.
Four Easy Steps
-
1
Clean It
Thoroughly clean the surface, removing all soap residue and allow surface to dry completely.
-
2
Position It
Peel the backing film and position it against the wall (without touching) to get prefect alignment and level.
-
3
Stick It
Firmly press the entire product into the wall. Then unclip by sliding upwards (some force required) to reveal the wall clips. Press each clip firmly into the wall and remove all air bubbles from the adhesive pad using your finger (very important step!).
-
4
Finish
Leave adhesive clips undisturbed for 12 hours, then reattach your product. That's it, you're good to go!